Self-Sufficiency at Home: How to Grow Microgreens Indoors

In a world of rising food costs and unpredictable supply chains, more people are looking for ways to become self-sufficient, even with limited space. One of the simplest, fastest, and most nutrient-dense ways to grow your own food at home is by cultivating microgreens indoors.
What Are Microgreens?
Microgreens are young seedlings of vegetables and herbs—harvested just a week or two
after germination. They’re not sprouts (which are grown without soil and eaten seed and
all), and they’re not baby greens (which take longer to grow). Microgreens are a perfect
middle ground: quick to grow, packed with flavor, and bursting with nutrients—often
containing 4–40 times the vitamins of their mature counterparts.
Why Microgreens?
Fast harvest: Most varieties are ready in 7–14 days.
Minimal space: A single windowsill or shelf can provide multiple trays.
No sunlight needed: A simple LED grow light is enough.
Low-cost, high-yield: A few teaspoons of seed can give you multiple servings.
Year-round growing: Indoors, you’re not limited by seasons or weather.
Super nutritious: Rich in vitamins A, C, K, and E, plus antioxidants and minerals.
Best Microgreens for Beginners
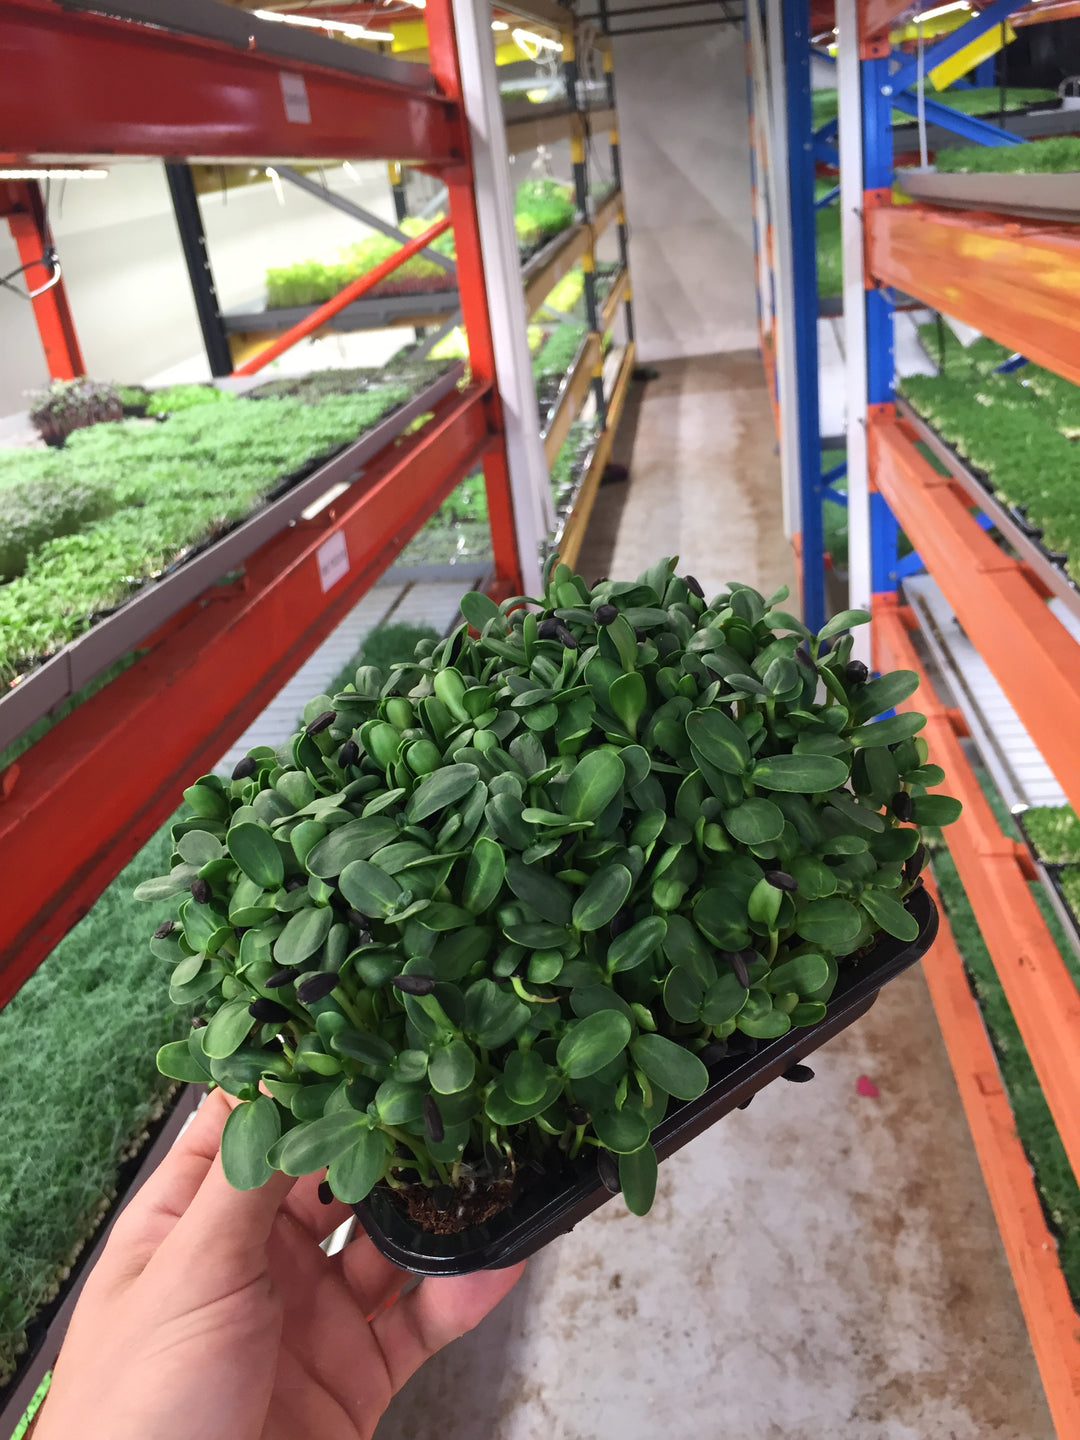
Sunflower – Mild, nutty flavor with a satisfying crunch.
Radish – Spicy and peppery, adds a kick to salads and sandwiches.
Broccoli – Mild, slightly earthy, very nutritious.
Pea shoots – Sweet and crisp, great for snacking or stir-fries.
Red cabbage – Beautiful purple stems and a mild taste.
Mustard – Spicy and sharp, like Dijon in plant form.
Kale – Easy to grow, mild flavor, great base for mixes.
What You’ll Need
You don’t need a green thumb or a big investment. Here’s the basic setup:
Shallow trays or containers: No drainage holes needed—takeout containers or
seedling trays work well.
Growing medium: Use coco coir, seed-starting mix, or even paper towels (for some
varieties).
Spray bottle: For gentle watering without disturbing the seeds.
Grow light (optional but recommended): A full-spectrum LED light ensures even
growth.
Seeds: Buy organic, untreated seeds specifically labeled for microgreens—standard
garden seeds can work but may be treated with chemicals.
How to Grow Microgreens in 5 Easy Steps
1. Prepare the tray: Fill with 1–2 inches of damp growing medium and level it out.
2. Sow seeds densely: Sprinkle seeds evenly across the surface—no need to space them
out.
3. Press and cover: Lightly press the seeds into the medium. Cover with another tray or
a lid to block light for 2–4 days (this helps germination).
4. Uncover and light: Once seeds sprout and push up the lid, remove the cover and
place under a grow light or near a sunny window.
5. Mist daily and harvest: Keep the medium moist (not soggy). When the first true
leaves appear—usually around day 7–14—snip the microgreens at the base with
scissors and enjoy.
Tips for Success
Avoid overwatering: Too much moisture can cause mold or rot.
Use a fan: Good airflow prevents damping-off disease and keeps stems strong.
Sterilize trays between grows: Cleanliness is key to healthy crops.
Grow in batches: Stagger planting to always have a fresh harvest ready.
Try blends: Mix seeds for flavor variety, color, and nutrient diversity.
How to Use Microgreens
Microgreens elevate nearly any meal. Add them to:
Salads
Sandwiches and wraps
Omelets or scrambled eggs
Smoothies
Soups (as a fresh garnish)
Stir-fries (add at the end for texture)
They’re not just a garnish—they’re real food, grown by you, in your home.
Final Thoughts
Growing microgreens indoors is one of the easiest and most impactful ways to begin a self-sufficient lifestyle. You don’t need a garden, a budget, or even experience—just a bit of time and curiosity. In return, you get fresh, clean, hyper-nutritious food at your fingertips. It’s empowering to grow what you eat. Start small. Start simple. Start with microgreens.